3 August 2026 · Tutorial
How to Remove a Background in Canva in Under a Minute
The short answer
Cut a photo out of its background in Canva in under a minute, then download it as a transparent PNG.
You can remove the background from a photo in Canva in about a minute, with no design skills and nothing to pay up front. You open Canva’s Background Remover tool, upload the photo, wait a few seconds, and download a PNG with a transparent background. The steps below are the same ones in the video above, written out so you can follow along without pressing play.
Step 1: Open the Background Remover tool
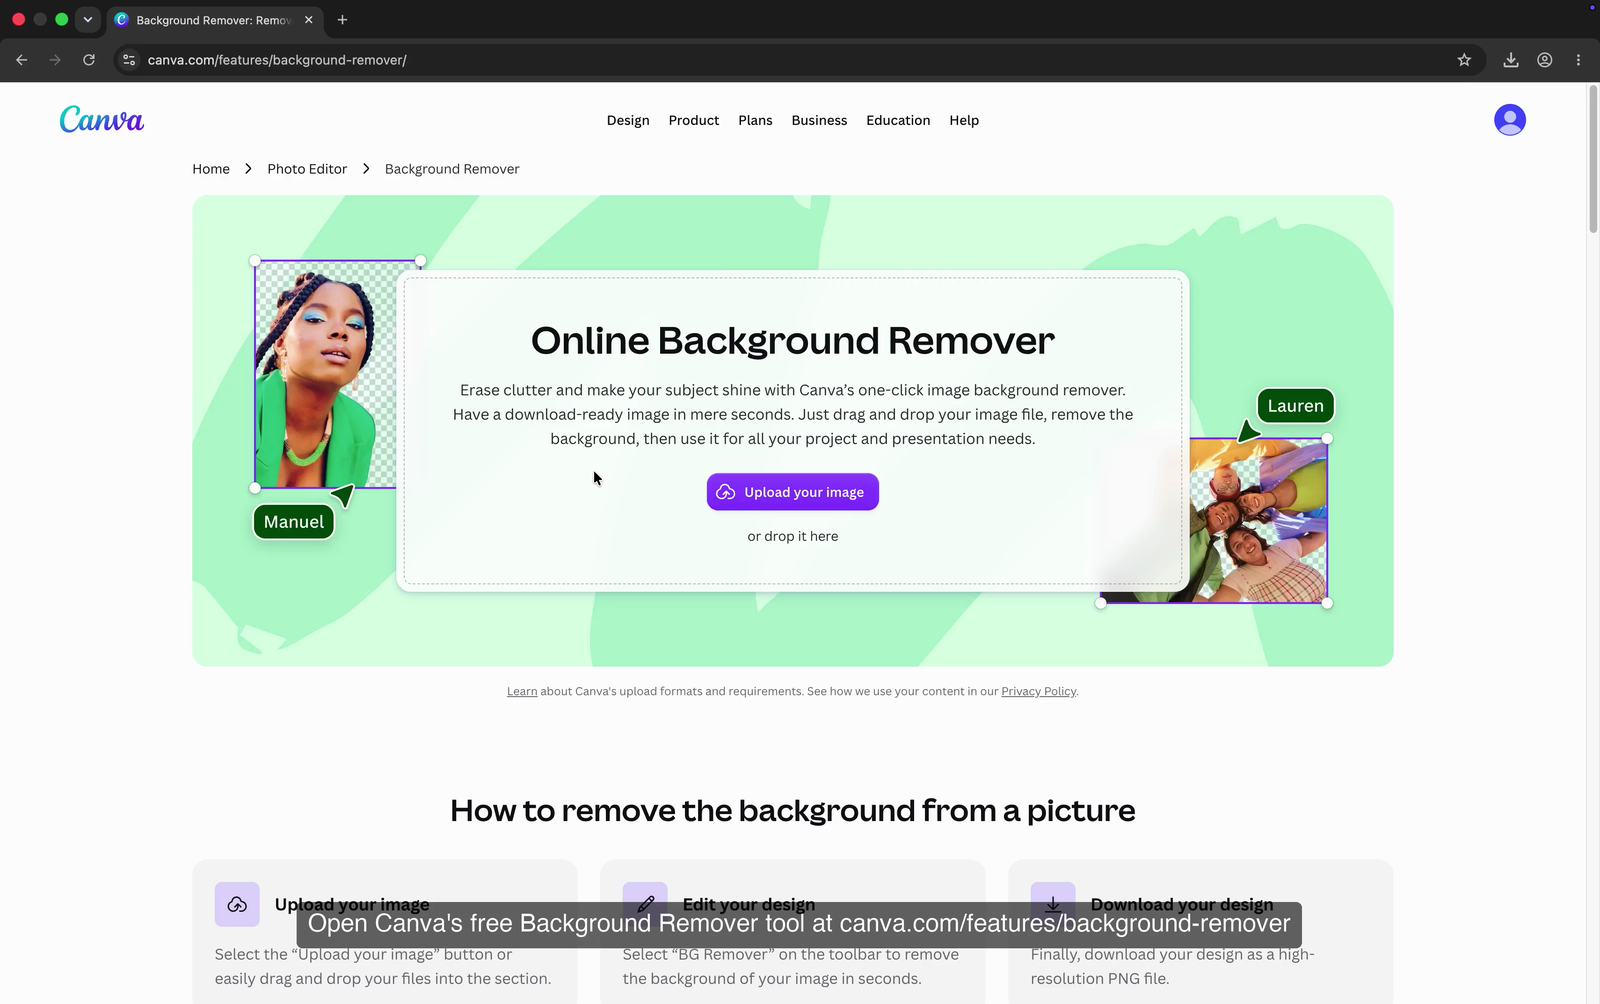
Type canva.com/features/background-remover into your browser’s address bar and press Enter. The page loads Canva’s Background Remover tool, which has a large upload area in the middle of the screen. This is the standalone tool, not the version tucked inside the Canva editor, so you don’t need an existing design to start.
Step 2: Click Upload your image
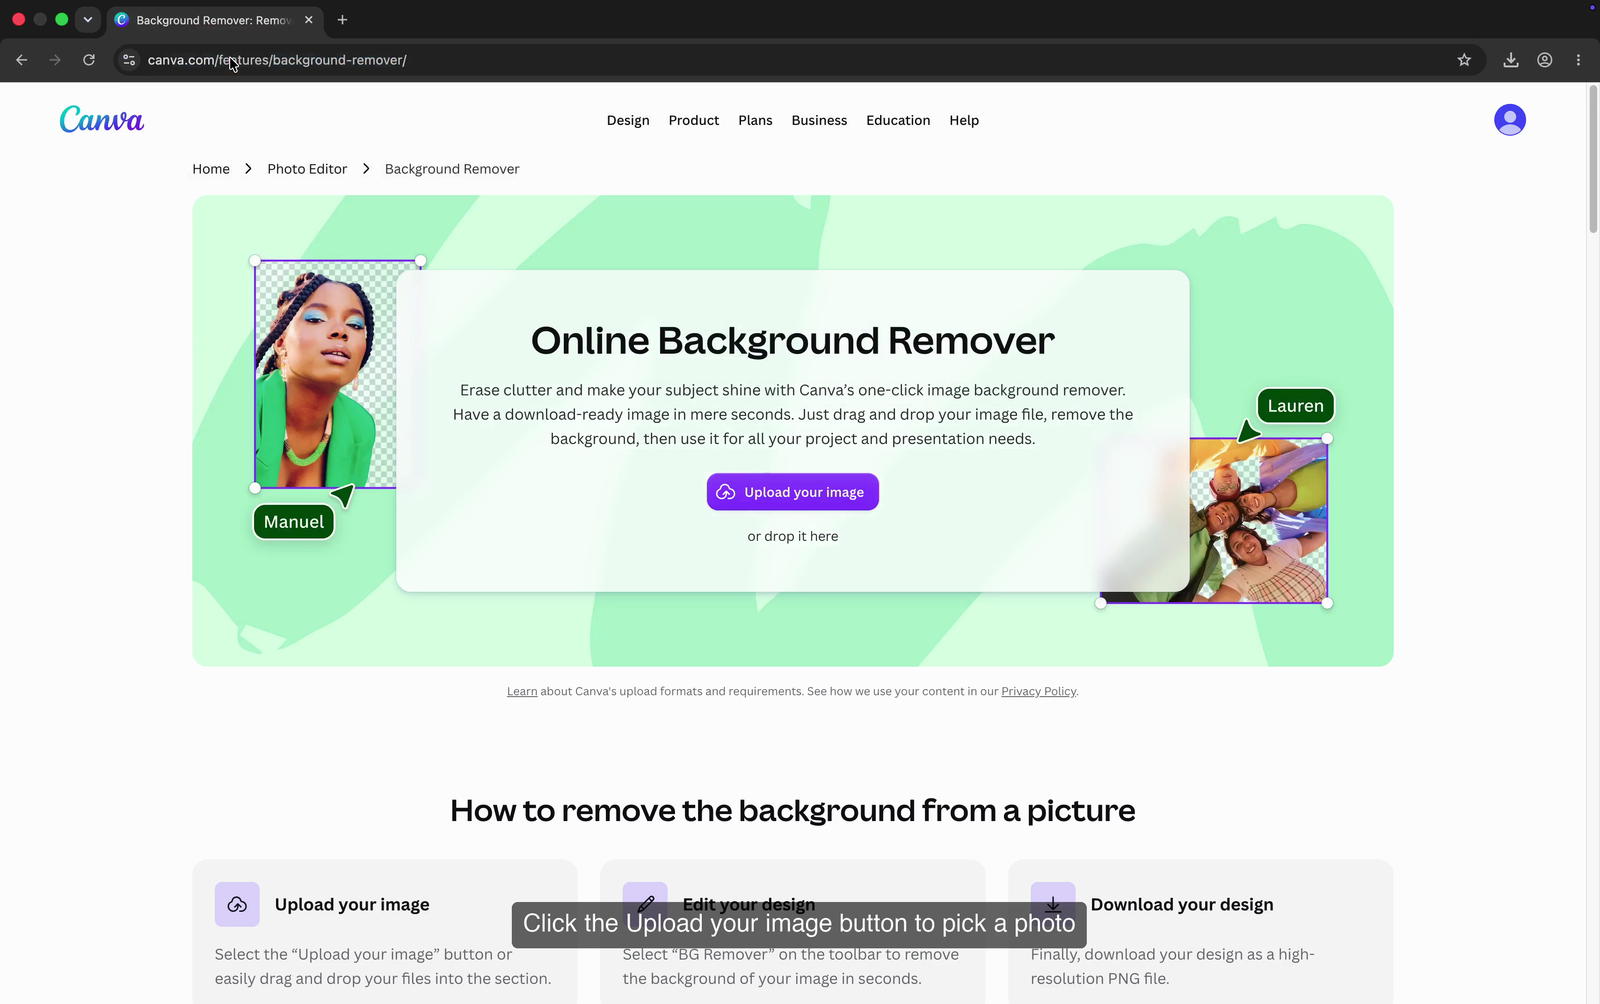
Click the “Upload your image” button in the middle of the page. Your computer’s file picker opens so you can choose the photo. If you’d rather not click, you can also drag a photo straight onto the page and drop it in the upload area.
Step 3: Pick the photo you want to edit
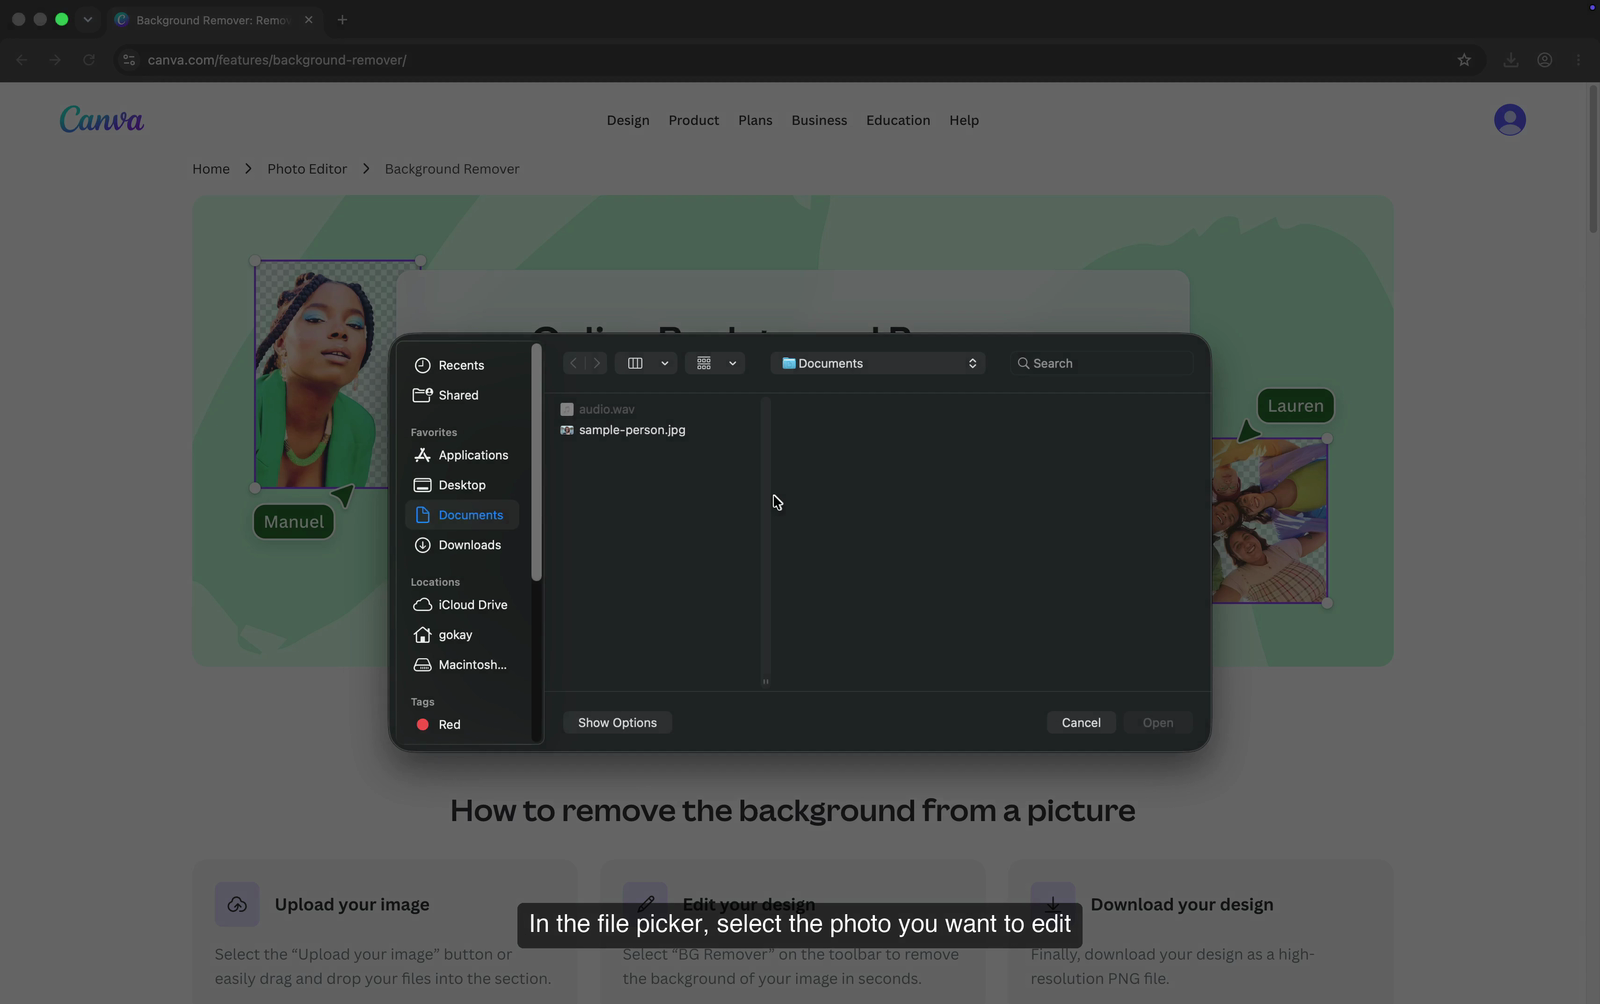
In the file picker, find the photo you want and click it once so it is selected. The row for the selected file is highlighted in the file list. You only need to pick one image here; Canva handles one photo at a time in this tool.
Step 4: Confirm with Open
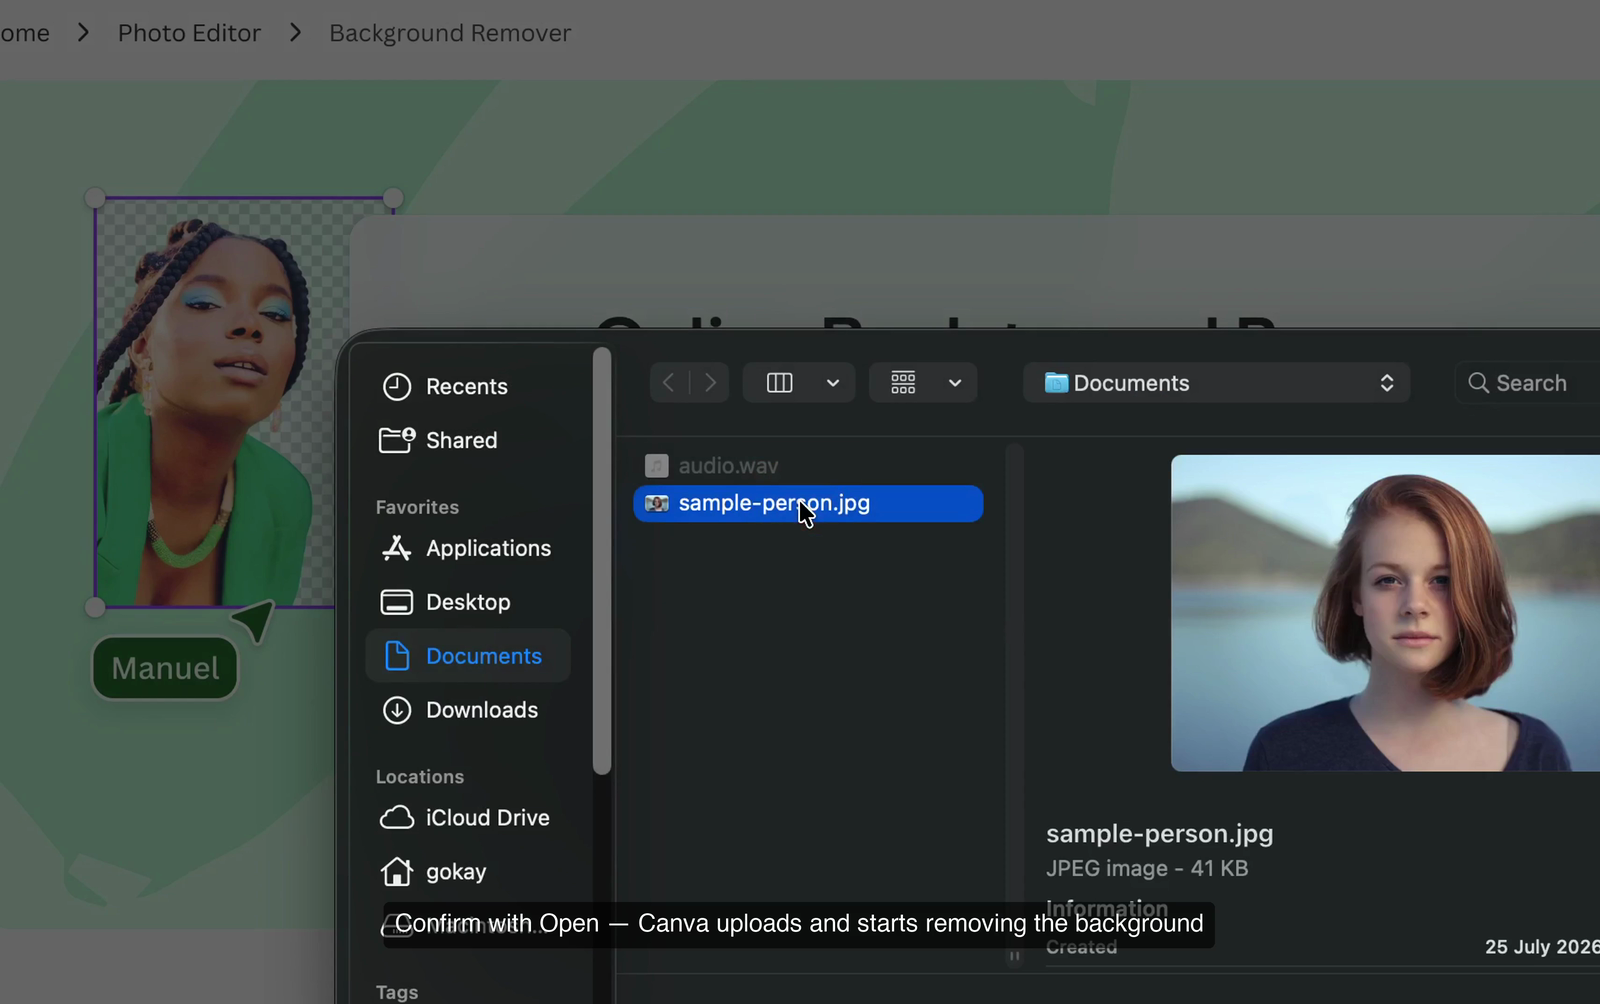
The video zooms in on this step because the file list text in the picker is small. On your screen, the picker dialog sits in the middle of the page: the photo you selected is the highlighted row in the file list, and the Open button is at the bottom right of the dialog. Click Open and Canva uploads the photo and starts removing the background on its own. There is no “background removal” option to switch on; it just runs.
Step 5: Wait for Canva to process the image
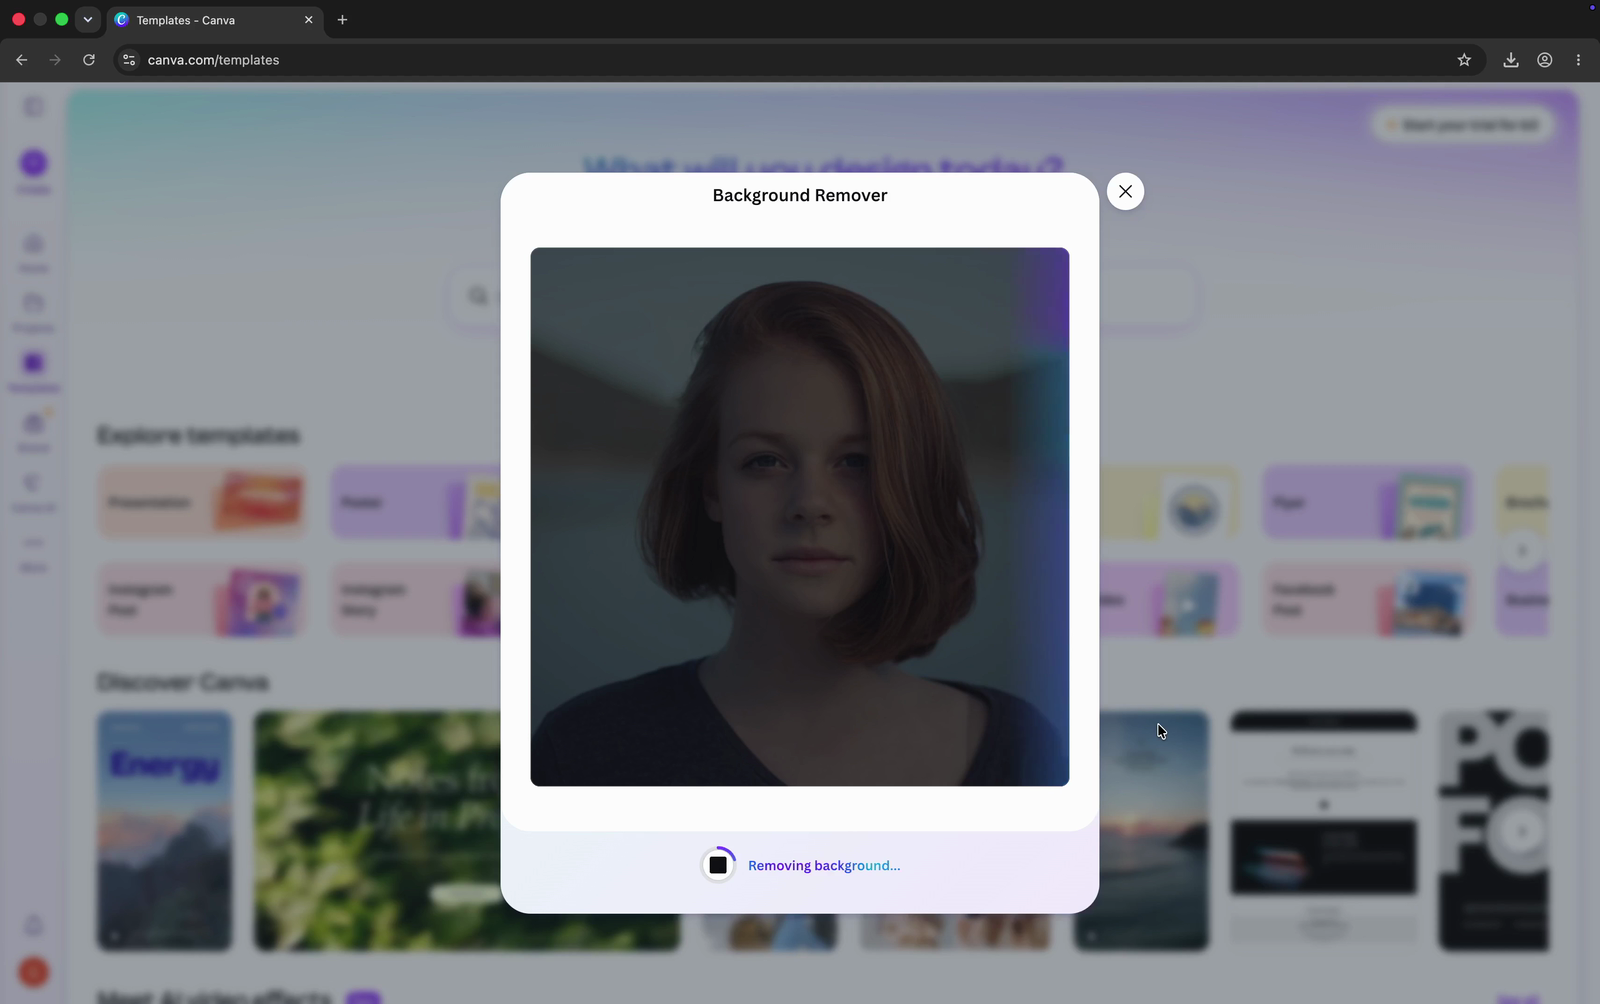
Give Canva a few seconds while it scans the photo and cuts out the subject. The screen shows the image while it works. There is nothing to click during this step; wait for the result before touching anything.
Step 6: Download the transparent image
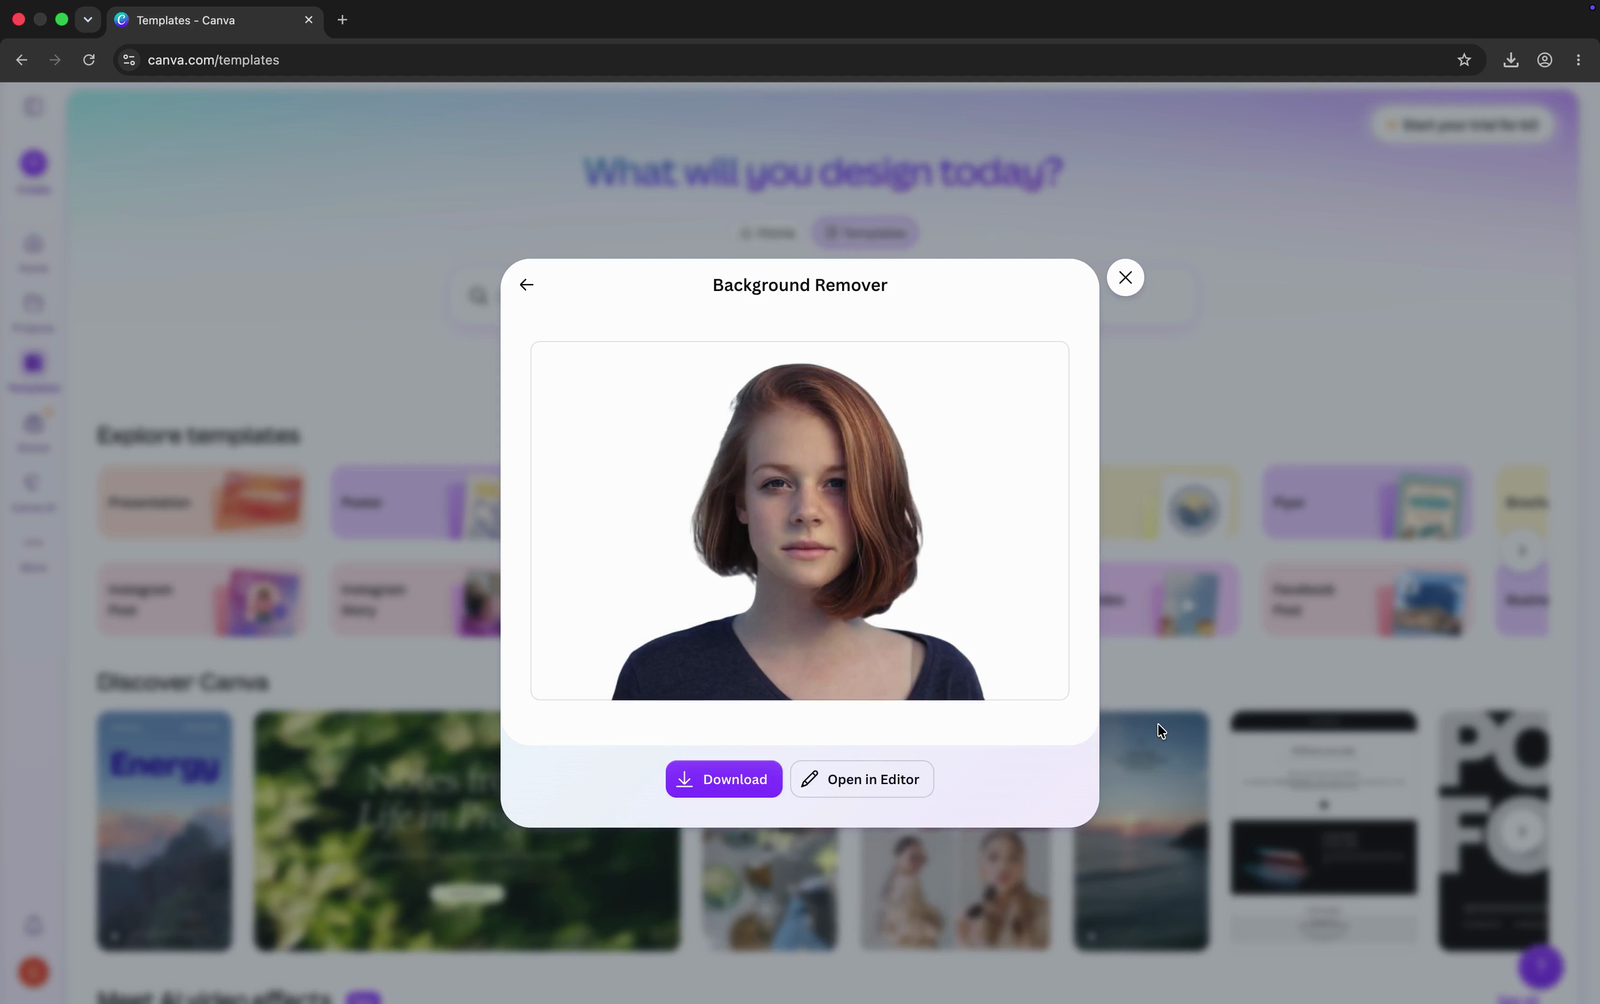
Once the background is gone, a result panel shows your photo with the cut-out done. The Download button is small and sits along the bottom edge of that panel, so look at the bottom of the result. Click Download and Canva saves the image as a PNG with a transparent background, ready to drop into any design, slide, or listing.
What to do if it goes wrong
- The upload is rejected. Canva’s Background Remover accepts JPG, PNG, HEIC, and HEIF files, per Canva’s own page. If your photo is another format, convert it to one of those and try again.
- The cut leaves a fringe of background behind. The automatic removal is a best guess, and fine details can survive the cut. Canva’s page describes erasing and restoring parts of the cut to tidy the edges, so open the result in the Canva editor and clean up with the Erase and Restore tools.
- It seems to be taking a while. The processing step lasts a few seconds by design. Wait for the result panel to appear before clicking anything else.
What the free path doesn’t do
The tool is free to use, but free usage is capped: Canva’s Background Remover page points to Canva Pro for “unlimited usage”, so if you remove backgrounds often, you will eventually be asked to upgrade. The cut itself is fully automatic, which is exactly why busy photos may need the manual Erase and Restore tidy-up above. For one-off jobs, the free tool is all you need.
Next step: download the PNG and drop it wherever you need a clean cut-out. A Canva design, a slide, a product listing, or a thumbnail all work, because the transparency keeps the subject usable on any background.